
In this tutorial I am going to show you how to create a beautiful digital photo store on your WordPress blog using NextGen Gallery and WP eStore plugins. I have already covered the basics of setting up a photo gallery in wordpress here.
In addition to NextGen Gallery we will need to install the WP eStore plugin to turn your existing photo gallery into a photo store.
What is WP eStore?
WP eStore is an award winning powerful e-commerce shopping cart plugin for WordPress. It allows you to sell any kind of tangible or intangible product online.
How to Install eStore
eStore can be installed like any other WordPress plugin. You can either install it via FTP or WordPress Plugin Uploader.
You will also need to install an eStore addon for NextGen Gallery.
Creating a New Product
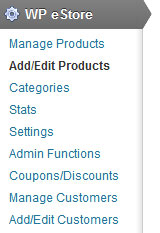
Once you have installed eStore and the addon you can start creating new products. Go to WP eStore->Add/Edit Products on your WP Dashboard.
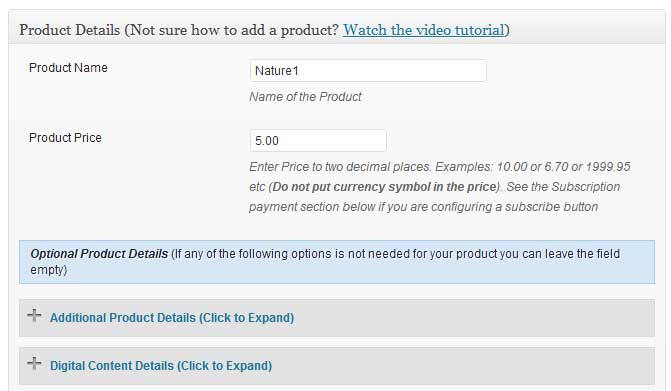
In the Product Details section enter a name and price for the image.
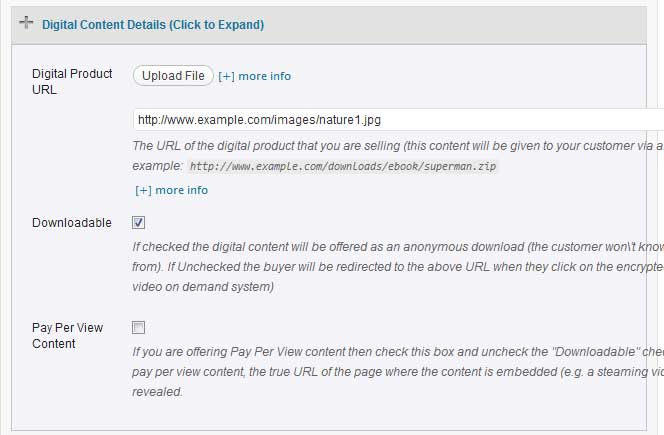
Now move on to the Digital Content Details section. You can either specify the full URL of the digital image you want to sell or dynamically upload it using the Upload File option.
There is a Save Product Option at the bottom of the page which will allows you to create the new product.
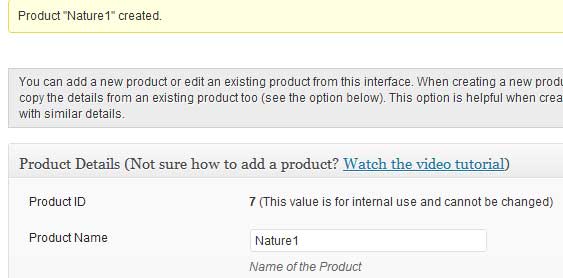
Once you have successfully created the new product you can see that an unique ID has been automatically generated for it (e.g. 7).
In this way you can keep adding as many products as you want. We already have 5 images in our current gallery. So we will create 5 products in eStore to represent those images.
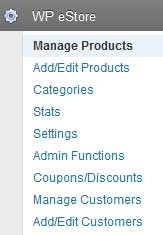
You can always edit your products from the Manage Products Menu.

Let’s check out the images we already uploaded to our current gallery (test-gallery).
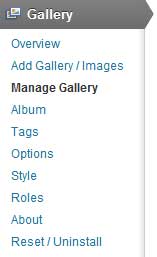
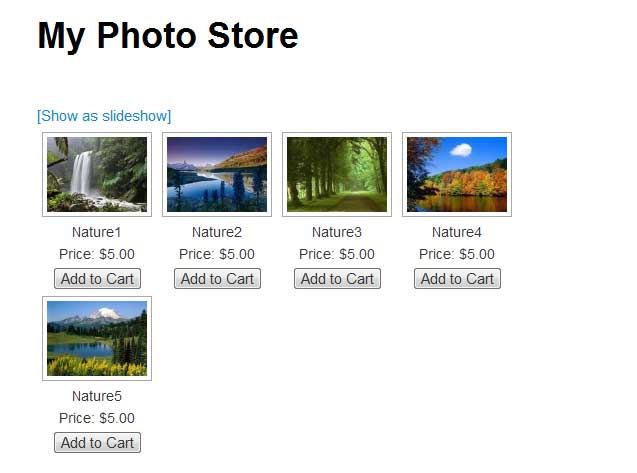
By default, the description field is empty for each image. But you can add your own description. For example:
Nature1<br />
Price: $5.00
[wp_eStore_add_to_cart id=7]
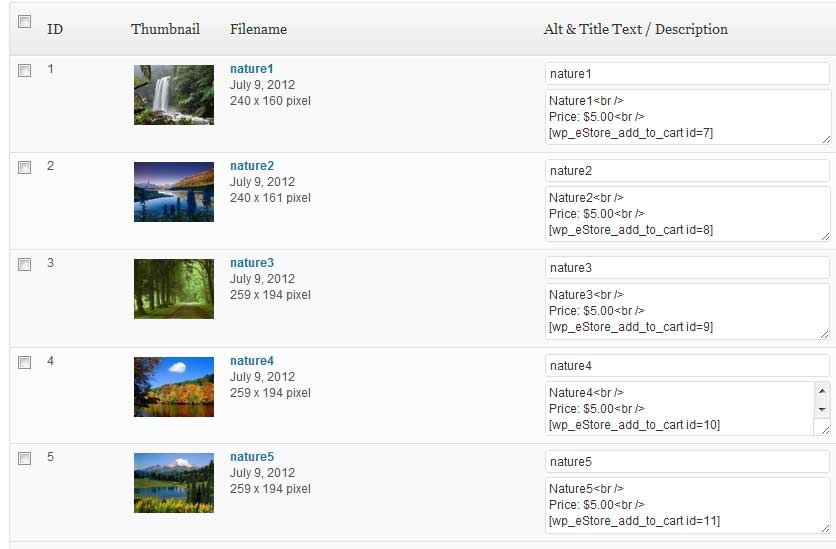
We are basically adding a shortcode for each product we created in eStore (This shortcode will automatically add an Add to Cart button).
You can save the changes. Now create a new post or page and embed the following shortcode:
[nggallery id=1 template=wp-eStore]
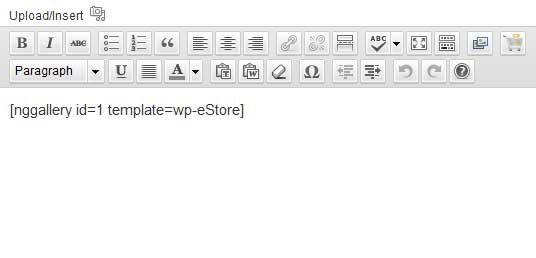
Here, id is the unique ID of the gallery created in NextGen Gallery.
Publish the post or page and you will be ready to sell photo from your new photo store.
Download the Required Plugins
You can download the plugins from here: