
NextGen Gallery is a popular WordPress plugin to create powerful image gallery. It allows you to upload images, create a photo gallery with a set of images, manage multiple galleries, group image galleries into albums and so on. You can also create beautiful slideshows and thumbnail galleries, which include various options for customizing style, transitions, lightbox effects etc.
In this tutorial we will cover some basic steps for setting up a new photo gallery using NextGen gallery plugin.
NextGen Gallery Plugin Installation
There are three ways to install this plugin.
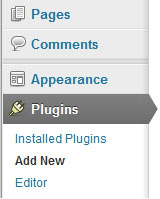
Option-1: Go to the Plugins menu on your WordPress Dashboard. Click Add New.
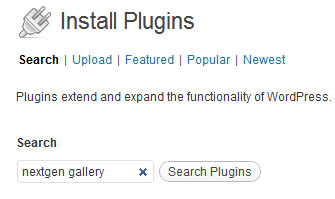
You will see the Install Plugins interface. There is a search option which allows you to search for a plugin hosted on WordPress.org. You can search with something like nextgen gallery.
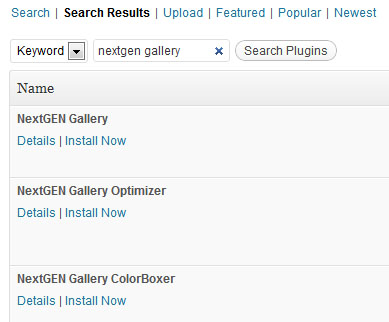
There are some addons for NextGen Gallery plugin. So don’t get confused with similar names in the search results. The main plugin is named somelike NextGEN Gallery. There is a Install Now option which you can click to automatically install the plugin.
Option-2: Go to wordpress.org plugin repository. Search for NextGen Gallery plugin and download it from the NextGen Gallery plugin page. Once you have the .zip file you can upload it from the Plugins menu. Instead of searching for the plugin you need to go to the Upload option.
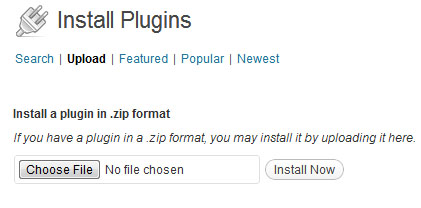
Select the .zip plugin file on your computer and click Install Now.
Option-3: You can transfer the plugin files to your server by using a FTP (File Transfer Protocol) software. I use FileZilla for this. This time you will have to do a bit more work. First, unzip the .zip file that you have downloaded from the NextGen Gallery plugin page. Now connect to your server with your hostname, username and password. Browse to the plugins directory (e.g. public_html/wp-content/plugins). Upload the unzipped folder to this directory. You are done!
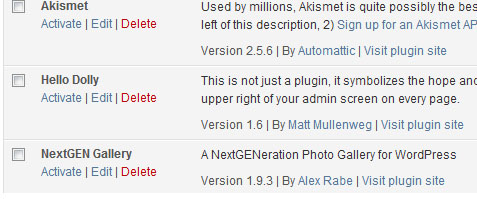
Your plugin is still not activated though. So you need to go to the Installed Plugins menu and manually activate it.
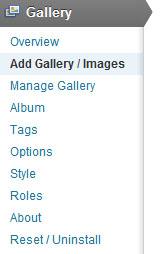
Add Gallery/Images
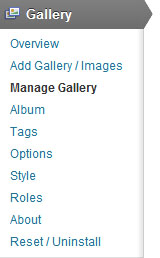
Once the plugin is activated you will see a new menu called Gallery on your WordPress Dashboard. We will first create a new gallery. So go to the Add Gallery/Images option.
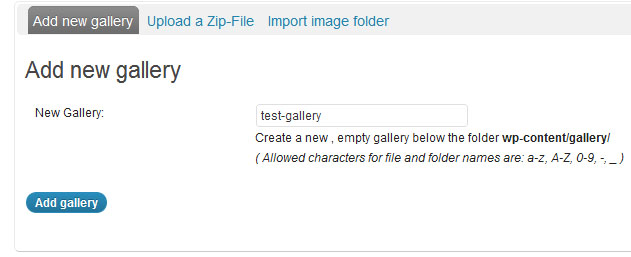
We are going to create our first gallery. Let’s give it a name like test-gallery and click the Add gallery button.
You can now keep adding new images to the gallery. You just need to select the image file on your computer and choose a gallery for the image (in this case we will choose the one we just created).
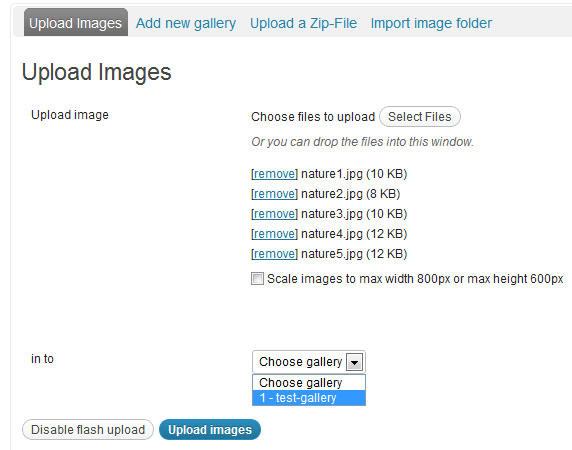
As you can see that there are currently five images in the test-gallery. Click Upload images to upload all the images.
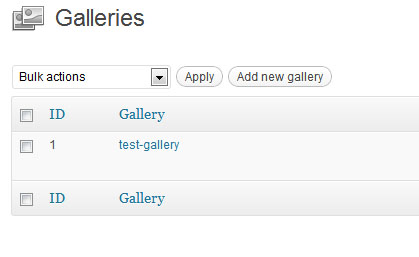
You can always manage all of your galleries from the Manage Gallery menu.
We have only one gallery so far and the unique ID for this gallery is 1.
Display Gallery
Now that we have the gallery ready we can display all the images from that gallery on a post or page. So create a new WordPress post or page and embed the following shortcode:
[[nggallery id=1]]
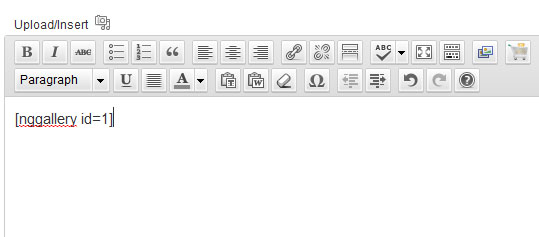
If you now publish the post or page you will be able to see the images from test-gallery.
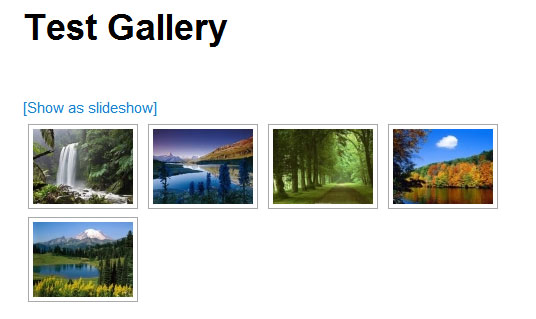
And now you have a beautiful photo gallery. I would love to hear your thoughts about setting up a photo gallery in wordpress. Please feel free to share it in the comment section below.
Not working properly all images are showing on once page, i can use manual code code like above image?