
In this tutorial I am going to show you how to set up a digital photo store on your WordPress blog in 2 minutes. I have already covered the basic method of creating a digital photo store in WordPress using WP eStore and NextGen Gallery plugins. But this alternate method will help you get your store up and running very quickly.
Installing the Plugins
First, you need to make sure that you have the following plugins installed:
Creating a New Gallery
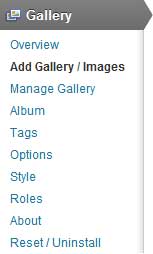
Once you have installed the plugins go to Add Gallery/Images under Gallery on your WordPress Dashboard.
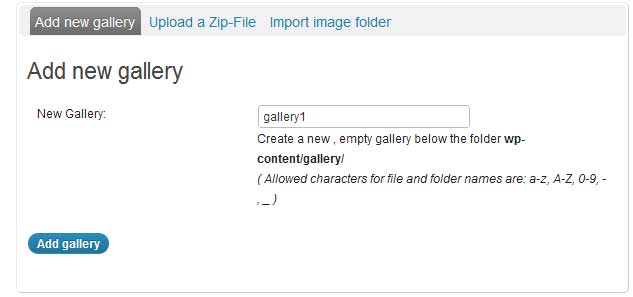
Enter a name for the gallery you want to create and hit the Add gallery button.
Uploading Images
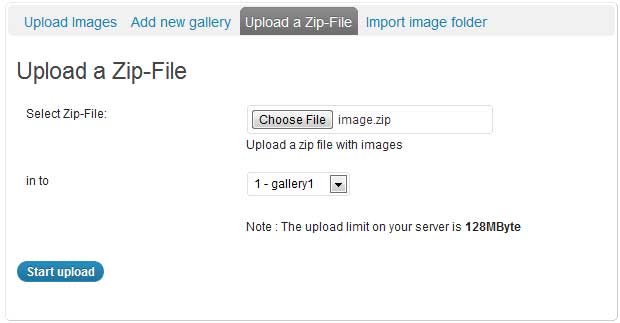
Now you can start uploading images to the gallery you just created. One easy way to upload multiples images is to create a new folder on your Desktop and copy all the images to that folder. If you are ready to upload the images create .zip version of that folder (In Windows OS you can easily create one by right-click->Send to->Compressed (zipped) folder).
Select the .zip folder on your computer and the gallery where you want to upload the images (in this case, it’s gallery1). Click Start Upload.
Managing Gallery
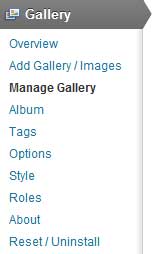
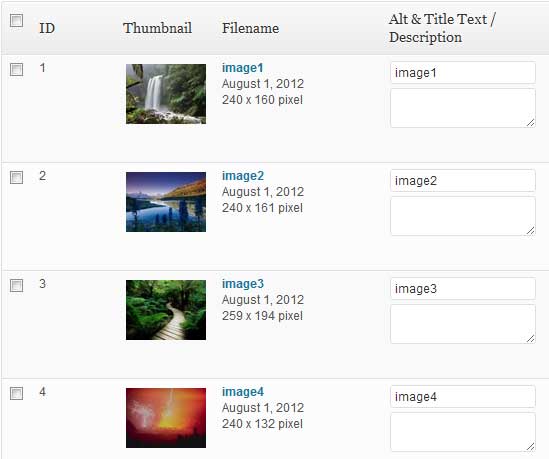
You can always manage the gallery and the image in it from the Manage Gallery menu.
You can see all the images you have uploaded to this gallery.
Integrating with WP eStore
Now that we have the gallery ready we can easily integrate it with WP eStore to create a payment button for each image.
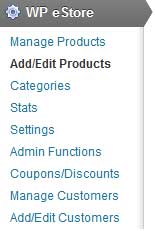
First, we need to create a new product in eStore which will be used as a template for all the gallery images. Go to Add/Edit Products under WP eStore.
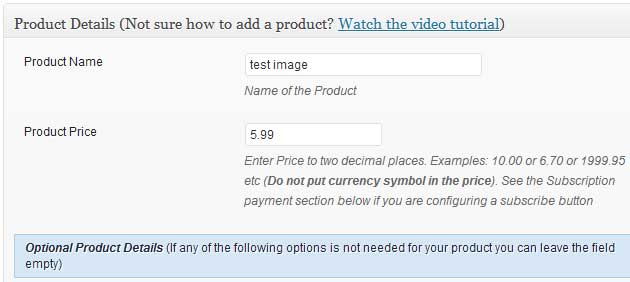
Enter a name and price for the template product.
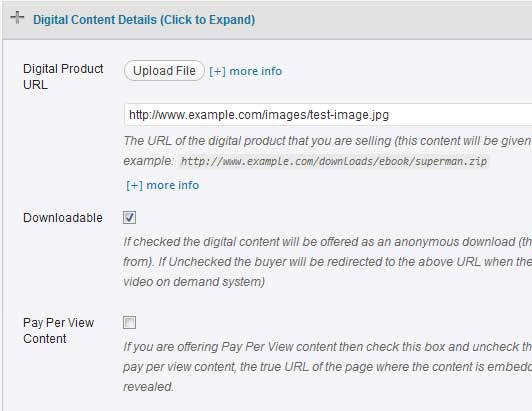
You can either upload an image for this product using the Upload File button or directly specify the URL in the Digital Product URL field. If you are offering digital images make sure that the Downloadable option is checked.
Click the Save Product option at the bottom of the page to successfully create the product.
All the product related information can be accessed from the Manage Products menu.
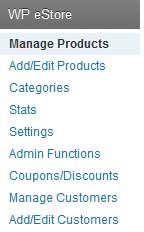
As you can see that currently you have one product configured (with an unique ID 1).

Now go to WP eStore->Settings->3rd Party Integration tab. There is section called NextGen Gallery Settings where you need to specify the unique ID of the product which will be used as a template.

Click the Update button to update the settings.
We are almost done with setting up the store. Now create a new post/page and embed the following shortcode:
[[nggallery id=1 template=wp-eStore-auto]]
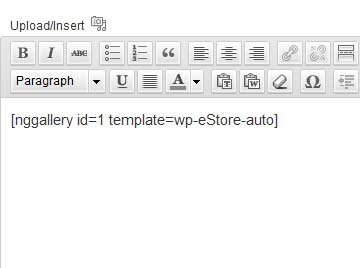
Here, nggallery id is the unique ID of the gallery you created earlier. Publish the post/page.
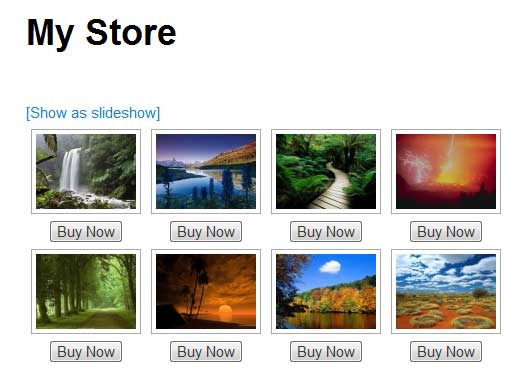
And your e-commerce photo gallery is ready!
Download the Required Plugins
If you are interested you can download the plugins from here: