
Are you planning to list an alumni group on your WordPress blog? In this tutorial I am going to walk you through a few simple steps to set up a WordPress alumni site in no time.
Step 1: Install a WordPress Alumni Plugin
First, you will need to install the following WordPress plugin and addon
- WP eMember – a popular WordPress membership plugin which allows you to manage your existing alumni
- eMember profile extended addon – an addon for the WP eMember plugin which allows you to list your alumni group.
Step 2: Create a Membership Level for Your Alumni Group
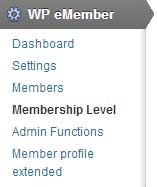
Now that you have the plugins installed you can start creating a new membership level for your alumni group. Simply navigate to “WP eMember -> Membership Level” and add a new membership level.
You can name the membership level to whatever you like (example: My Alumni Group).
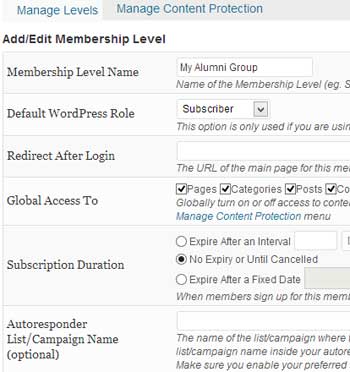
Click the “Submit” button which will create the membership level for you.
If you go back to the “Membership Level” menu you will see the newly created level with a Level ID.

Step 3: Build Your Alumni List
Option 1) Register New Users for the Alumni List
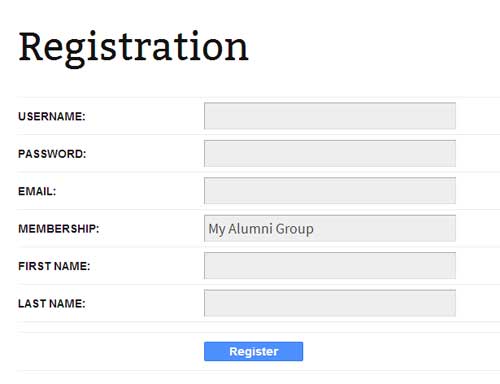
The plugin automatically creates a “Registration Page” when you install it for the first time. So you can simply redirect a user to the Registration page where they will be able to sign up for the alumni group you created earlier. You can find the URL to the Registration page in the eMember settings (WP eMember->Settings->Pages/Forms Settings). This is how a typical registration page looks like:
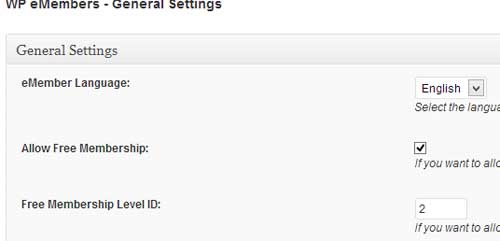
To use the “My Alumni Group” as your default free membership level you need to enable the following option in the eMember settings:
Alternatively, you can also add a new member manually from the eMember dashboard (WP eMember->Members->Add/Edit Member tab)
Option 2) Import Alumni to WP eMember Database
There are two ways to import alumni to the eMember plugin database:
a) Import as WordPress Users
If the alumni have WordPress user accounts on your site you can directly import to the eMember database using the the Import functionality. You can either import all WP users or selectively import some users:
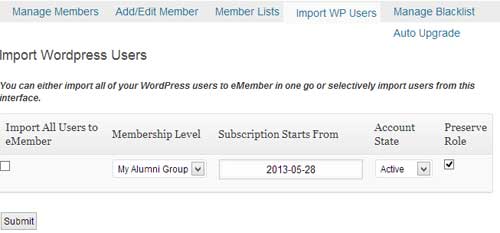
To access this functionality you need to go to “WP eMember->Members->Import WP Users” tab.
b) Import from MySQL Database
If you are already using another plugin to manage your users you can directly import those users to eMember database. Please check this video tutorial to learn more about this.
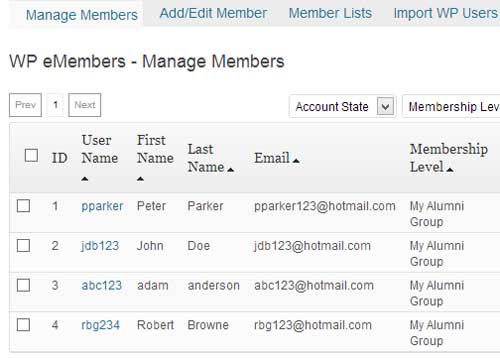
Once your alumni have been imported into the eMember database they will be listed under the “Manage Members” menu:
Step 4: Display Your Alumni Group on a WordPress Page
Now that you have the alumni list imported you can display it using a simple eMember shortcode.
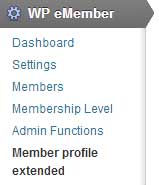
Go to the settings menu of the eMember profile extended addon that you installed earlier.
Scroll down to the “User Profile Summary List Fields” section and choose the options you would like to display on the Alumni Page.
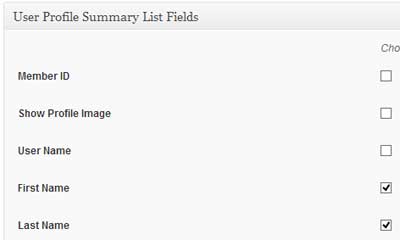
Click the “Generate Summary Shortcode” button to generate a shortcode for your alumni page.
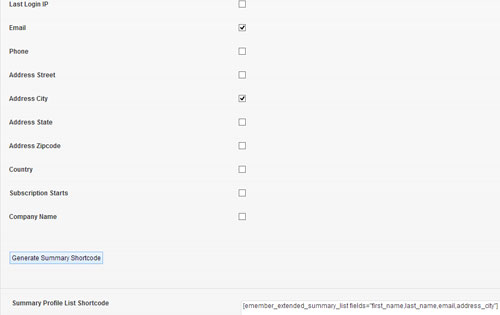
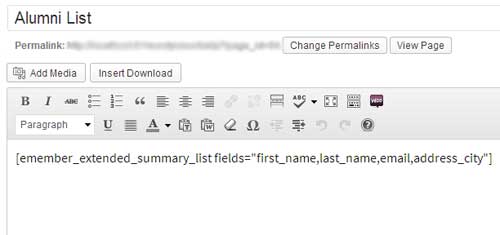
Copy the generated shortcode, create a new page and embed the shortcode in it:
Now if you view the page you will be able to see a list of your alumni.
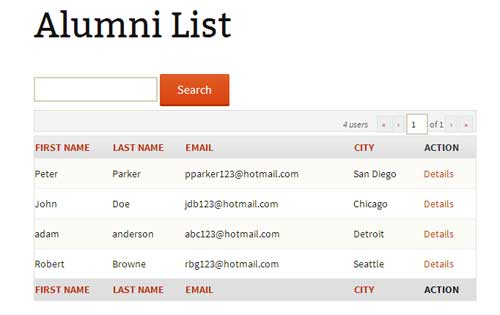
And that’s it. Now you have your own alumni site up and running on WordPress.
If you have any suggestions feel free to share with me in the comment section below.